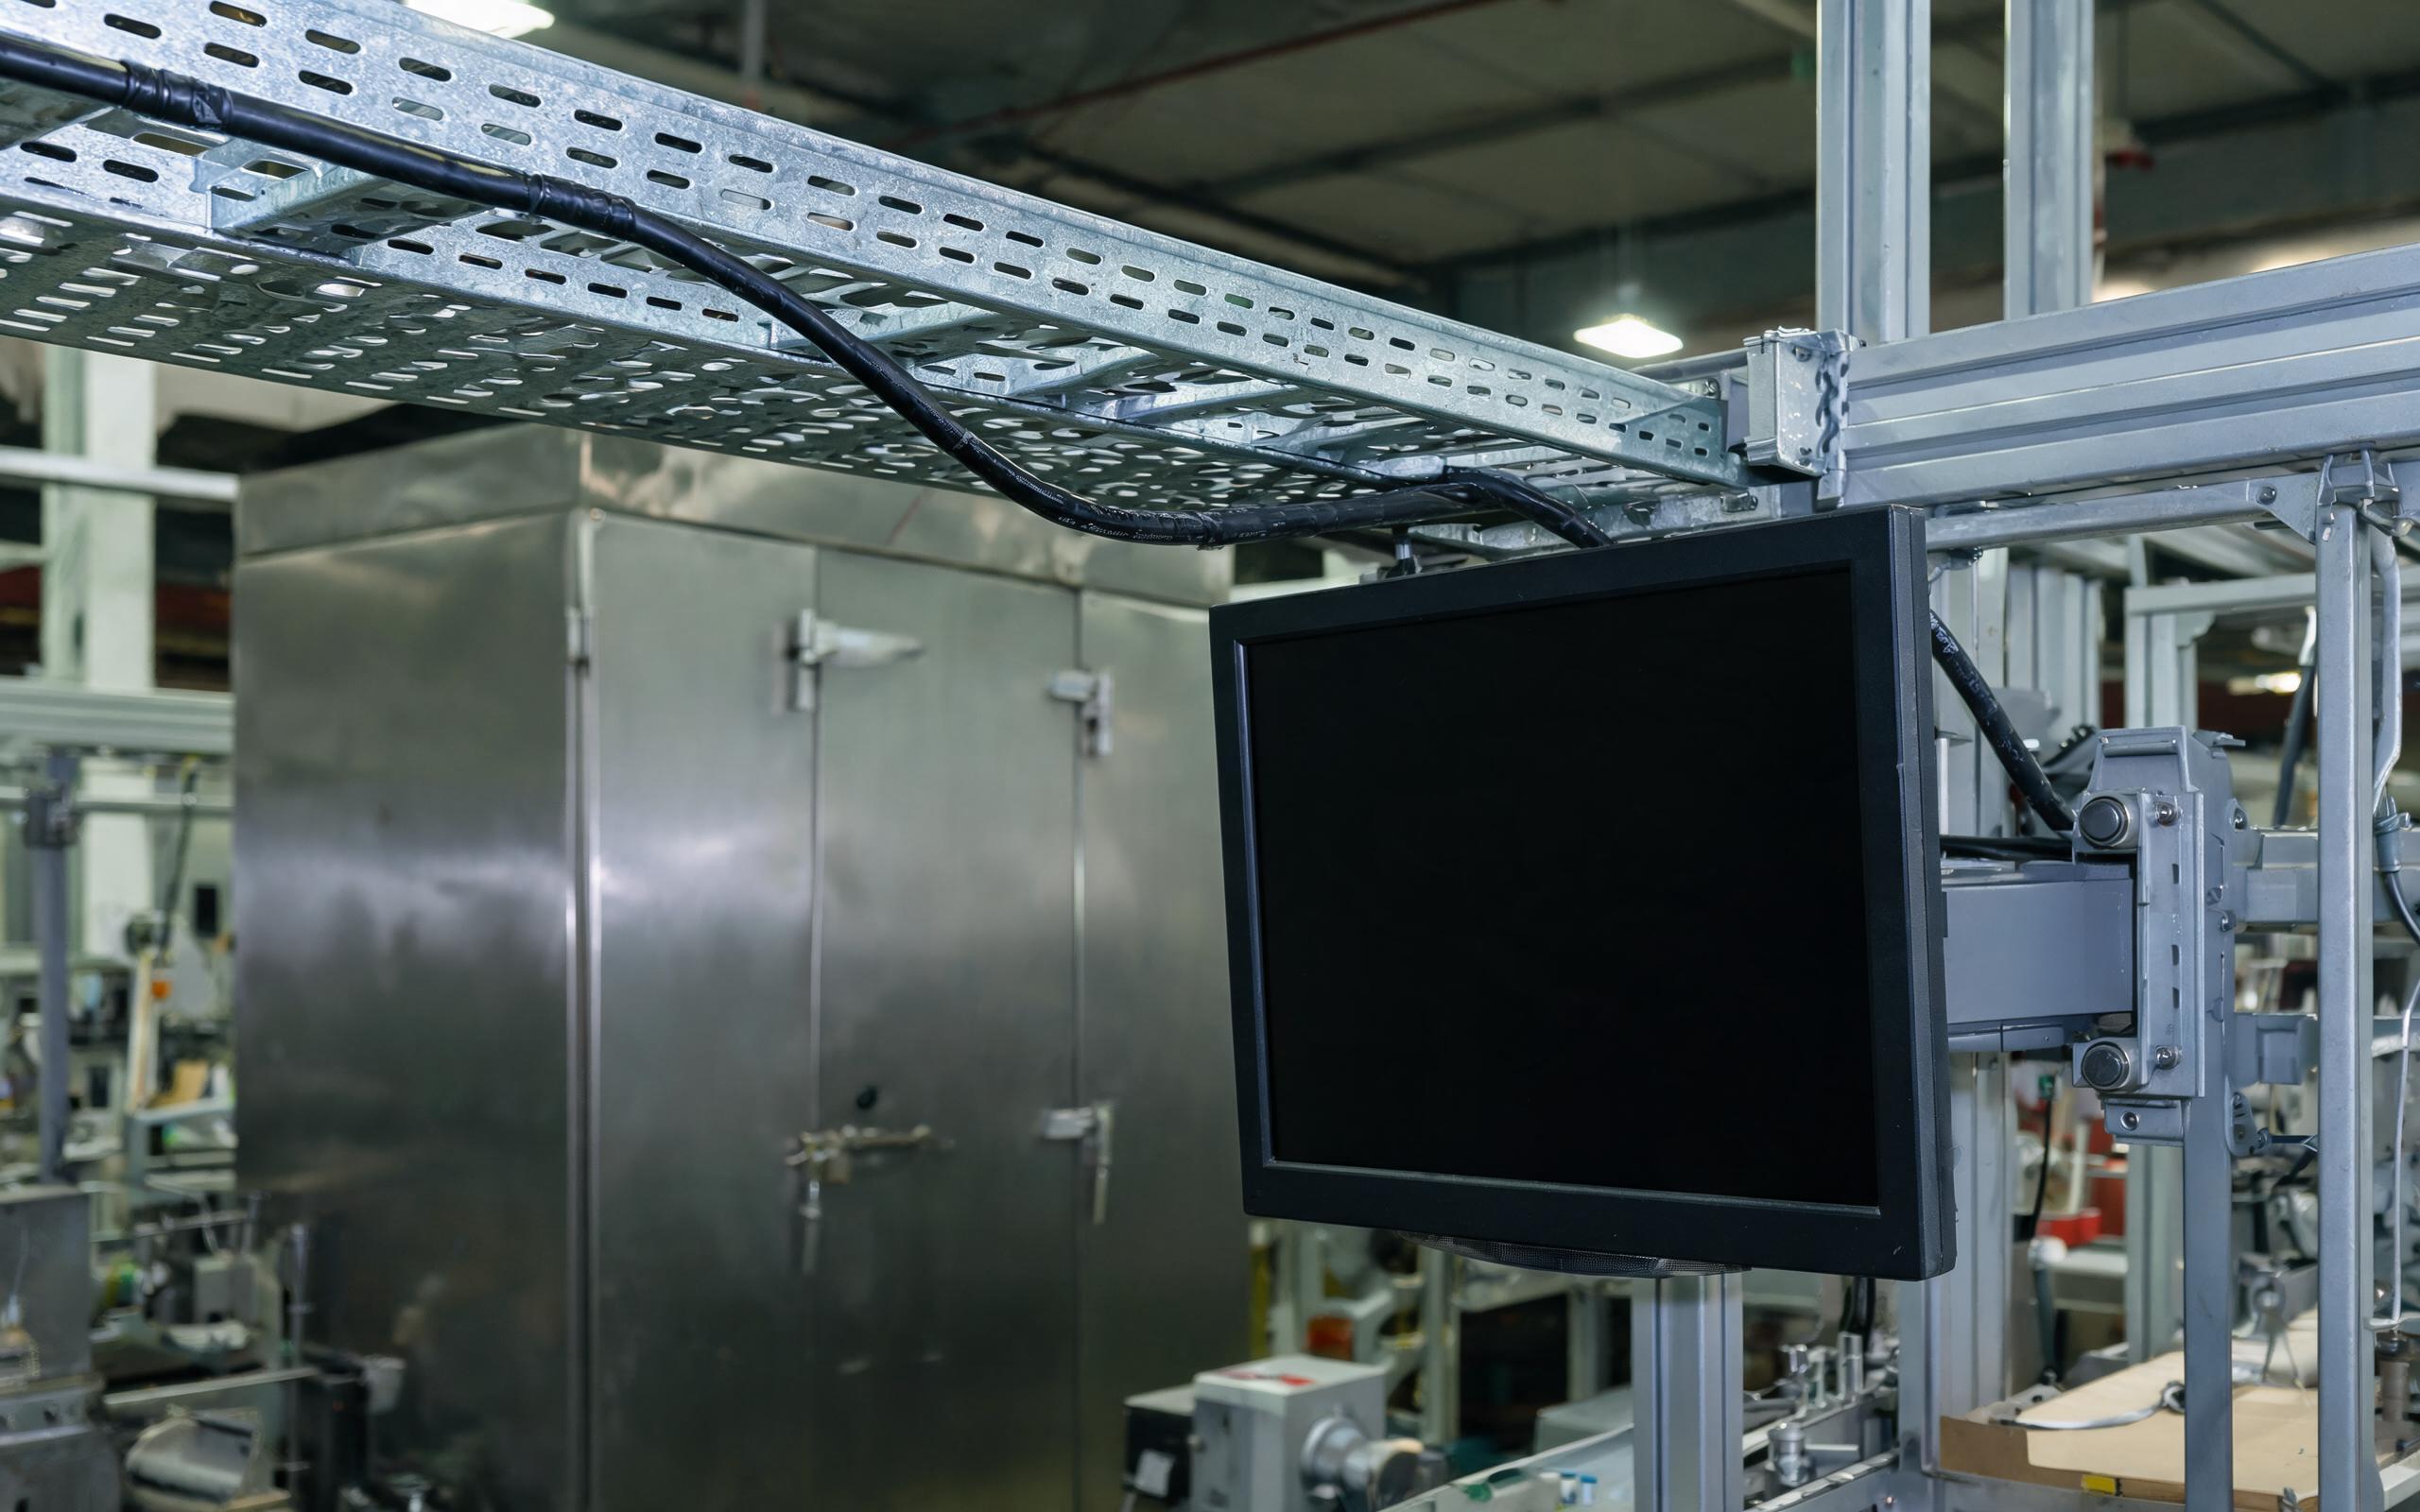
A fault trace that ends at the back of the cabinet rarely starts at the panel face. After a washdown shift, moisture shows up where the cables enter the enclosure, while the gasket along the front edge stays dry. An industrial panel mount display is normally specified by the number printed on its bezel, and that figure is read as protection for the whole unit. In practice the rating describes the front seal alone, and the back inherits whatever the enclosure provides. Two routes decide whether water gets in: the front seal and the cable entry.

Reading the Front Rating on an Industrial Panel Mount Display
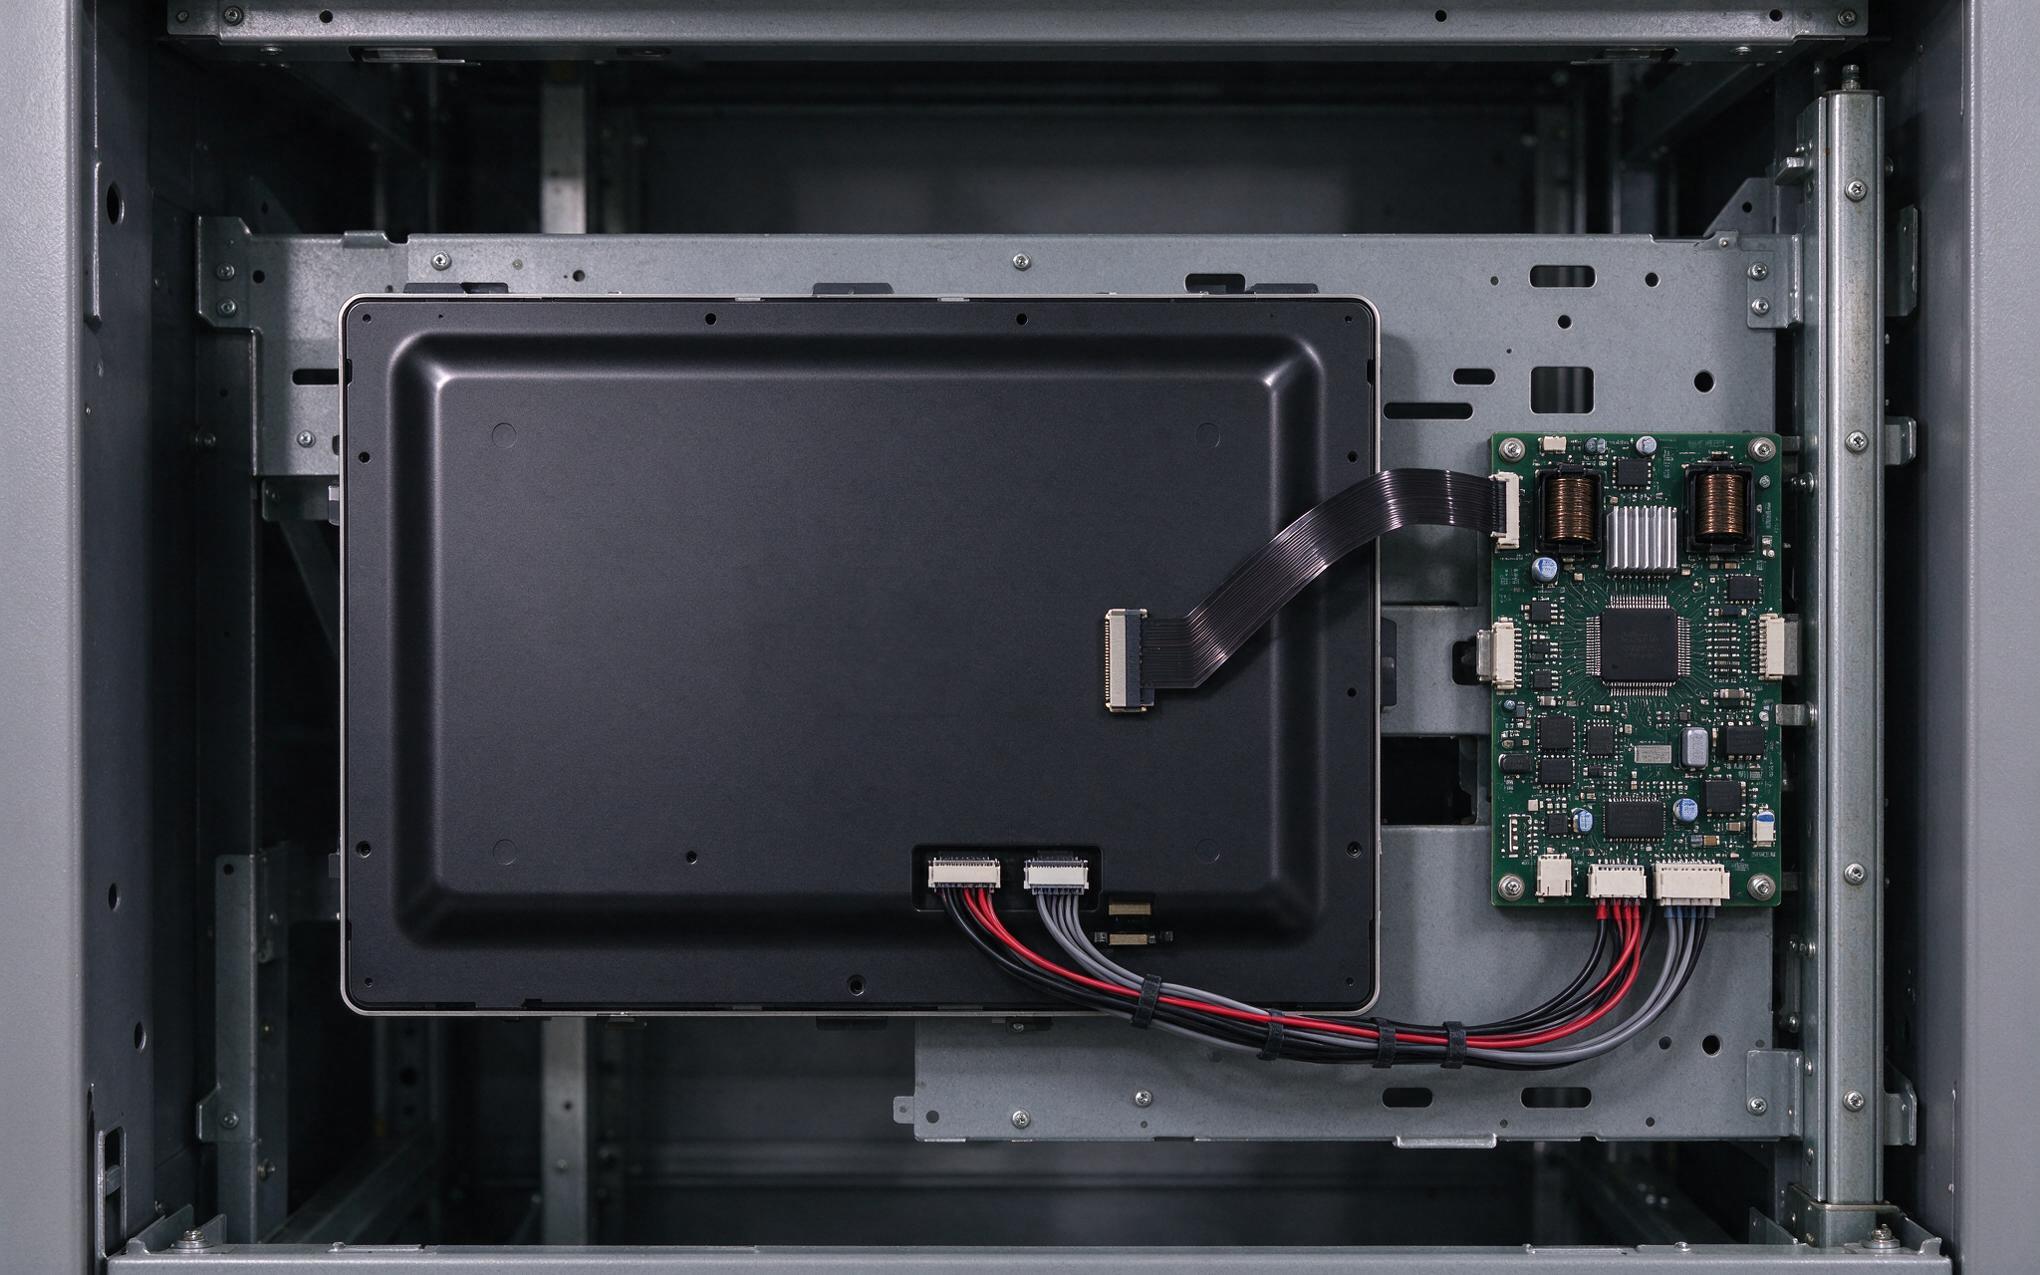
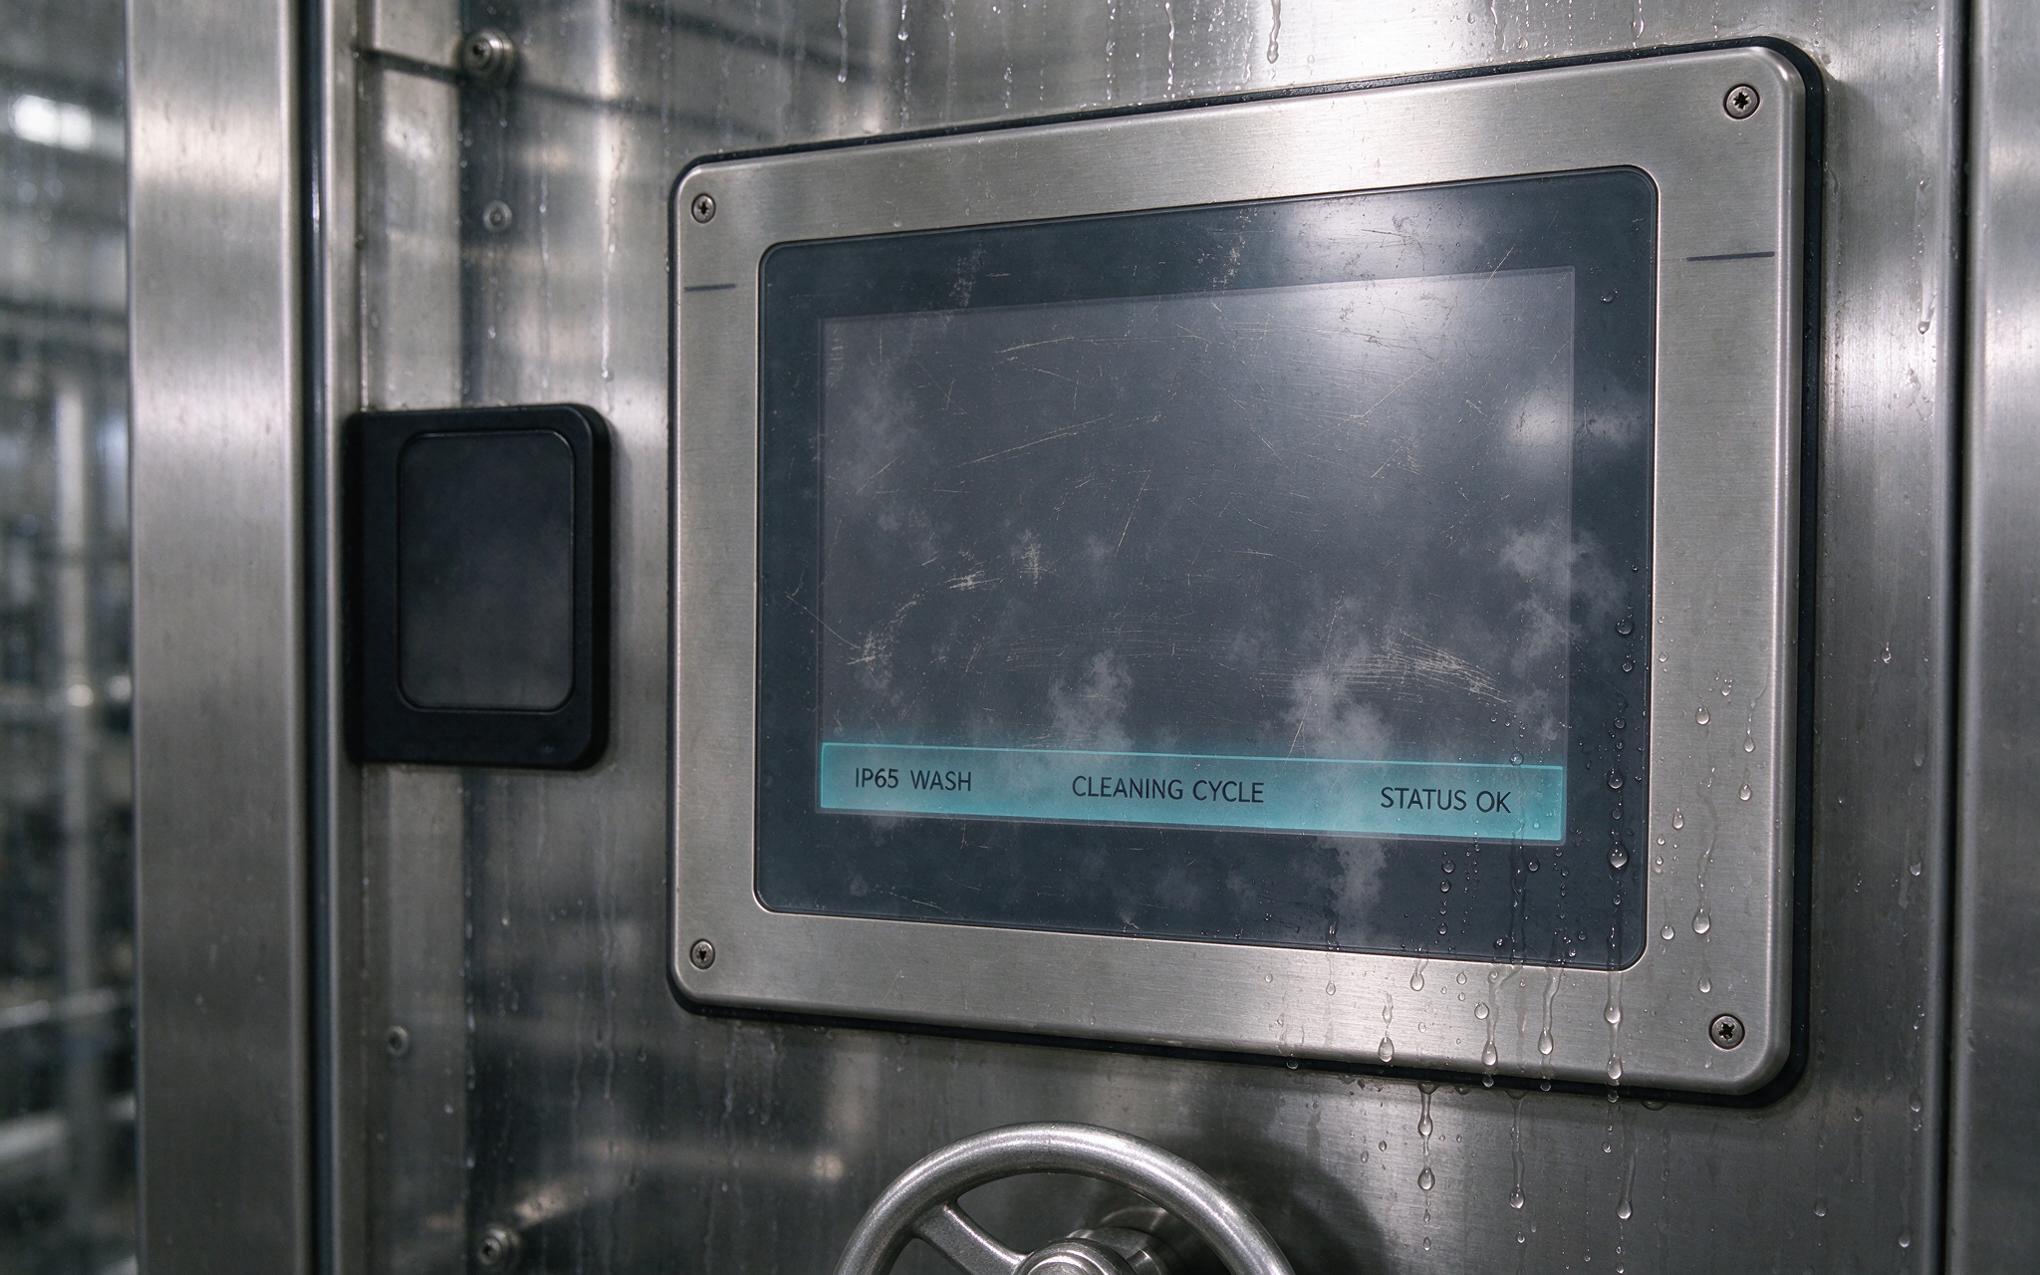
Front sealing is a manufacturing decision, and suppliers compress a gasket against the cutout face so the visible plane reaches its rated dust and jet protection. The gasket needs a flat, burr free opening and even clamping pressure, because paint buildup or an oversized cutout leaves a channel the seal never closes. Nothing behind that gasket is covered by the figure on the bezel: the chassis rear, the connector field and the mounting cavity normally carry no rating at all, or an entry level one. The distinction matters at commissioning, when a leak at the back of the display is written off as a panel problem even though the panel never promised protection there.
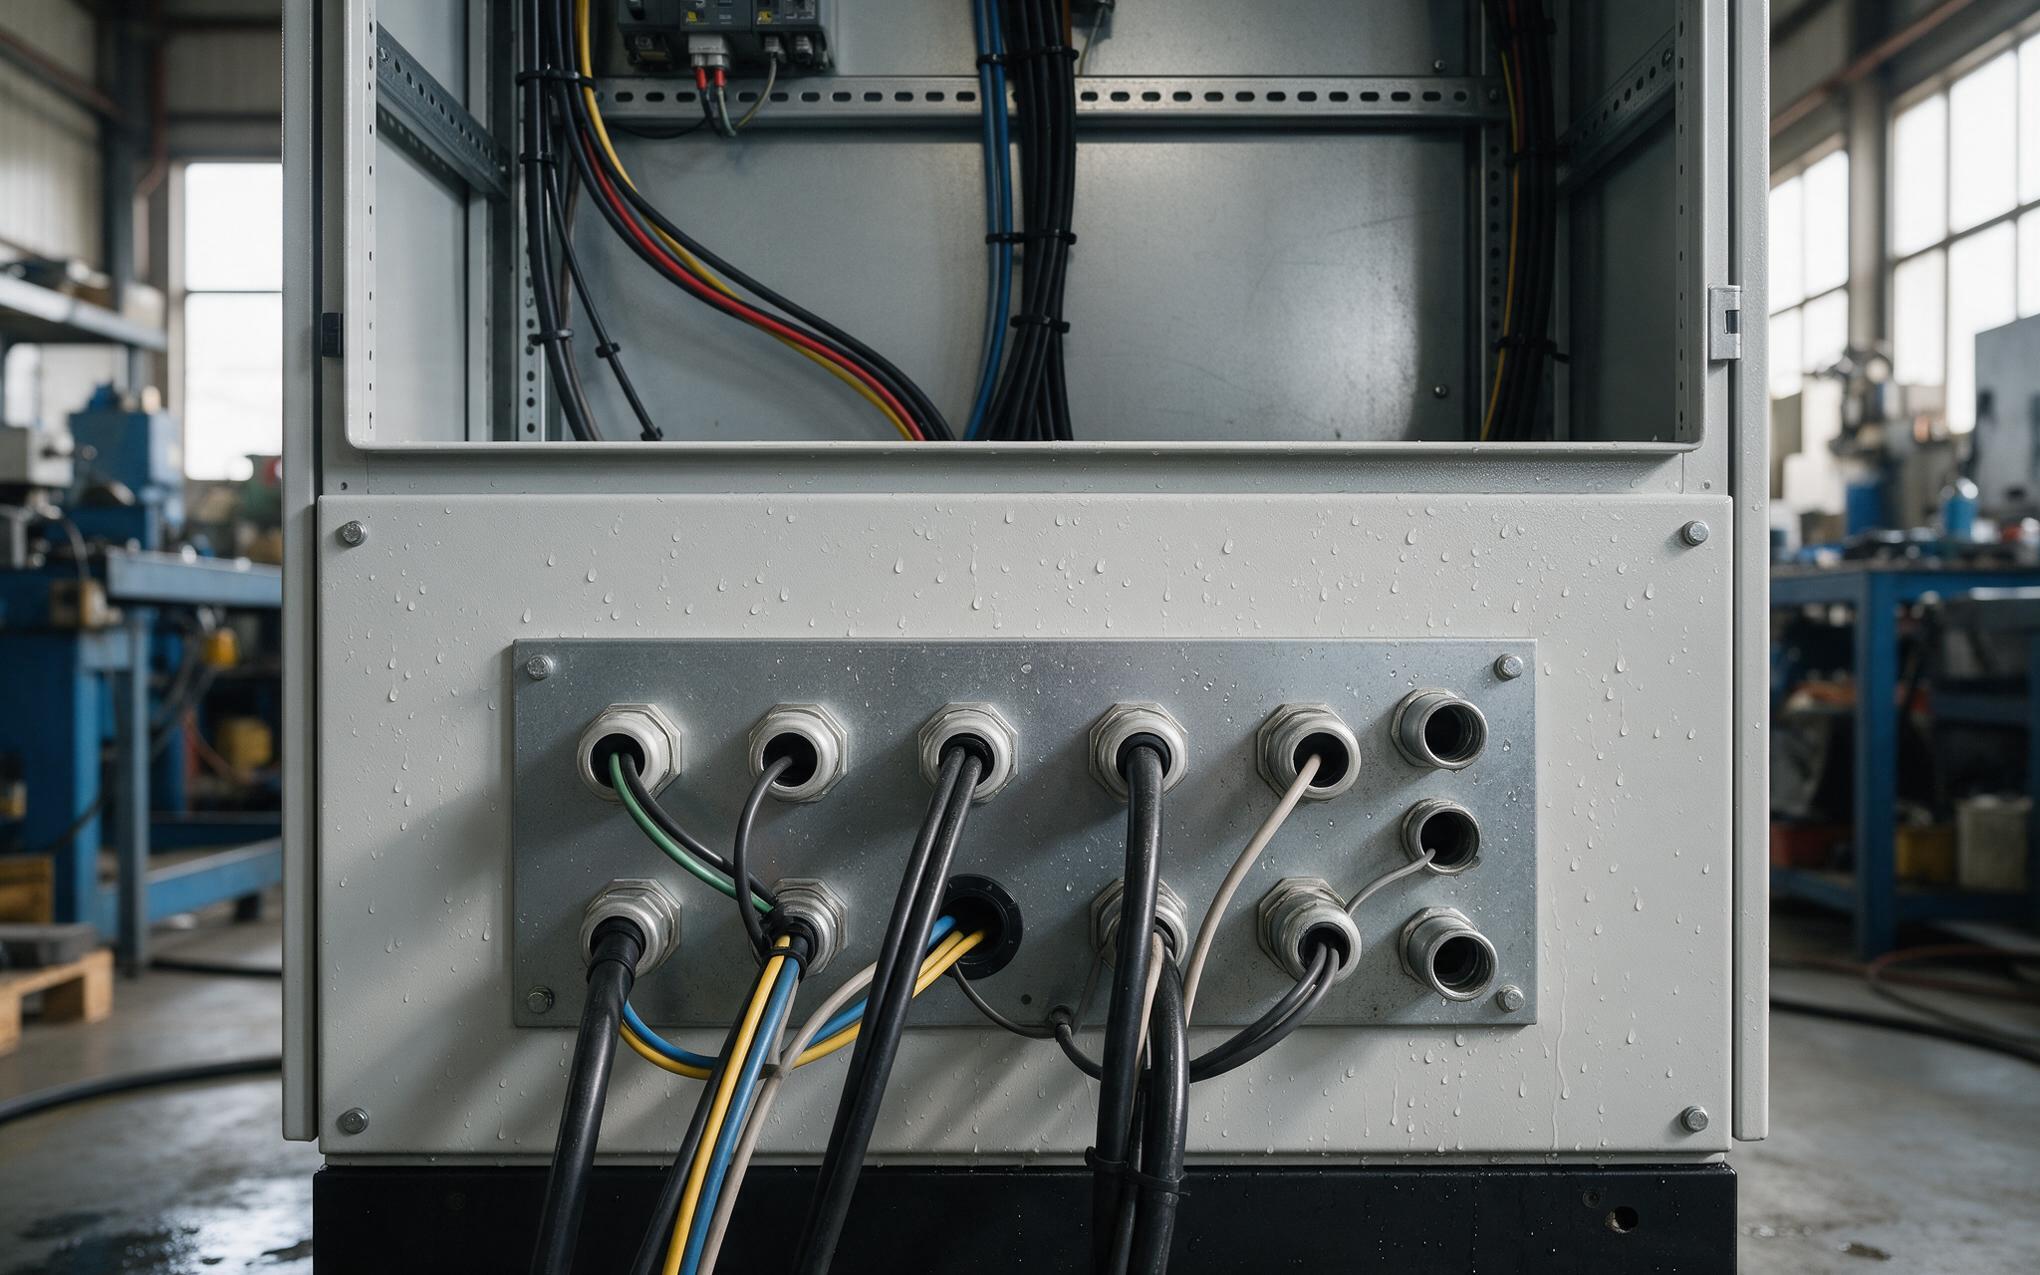
Cable Gland Sealing and Conduit Joints Behind the Panel
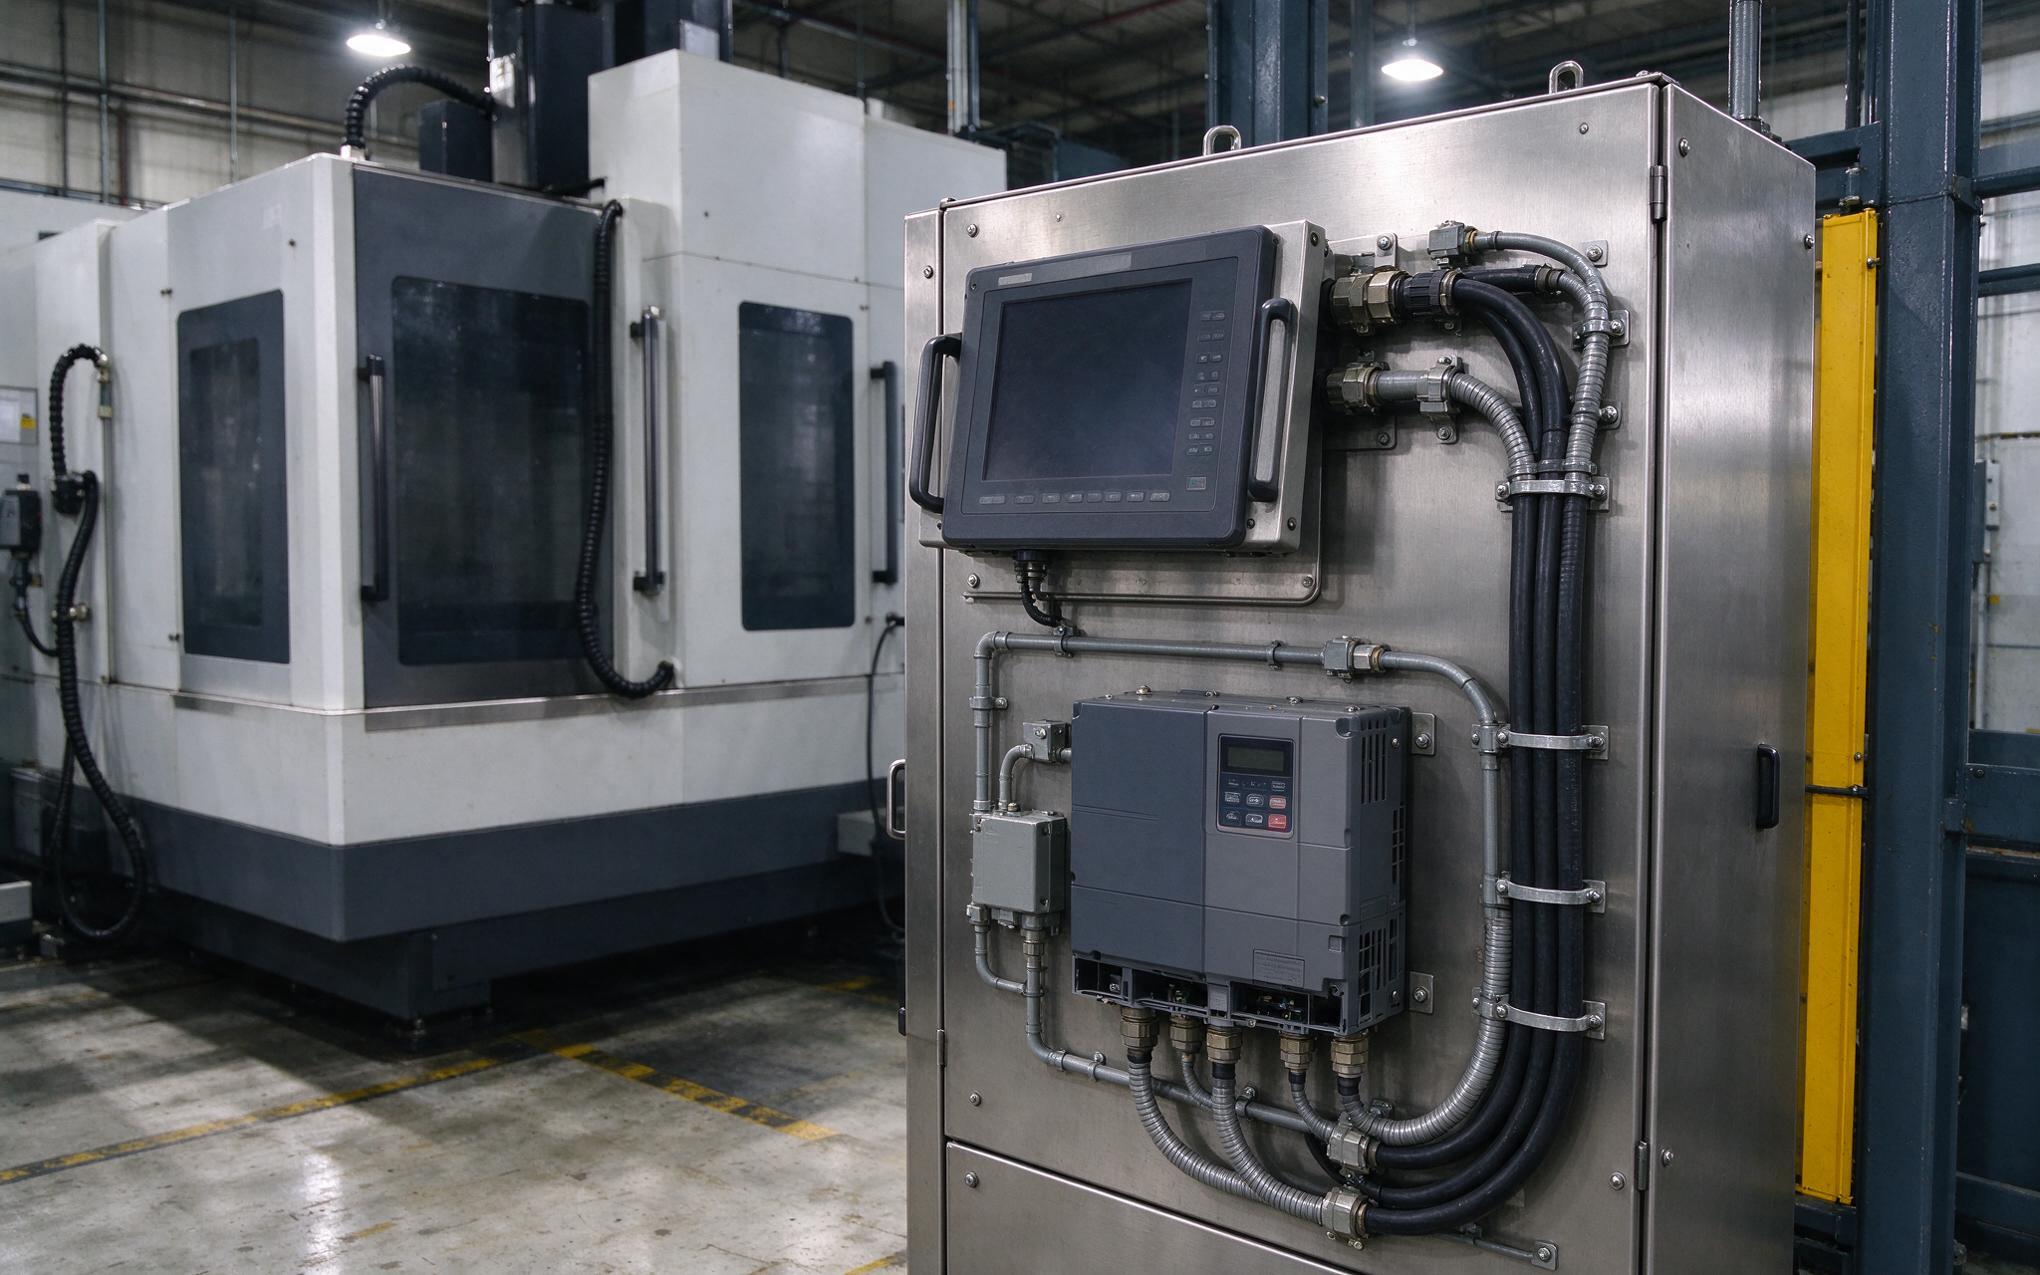
Interface layouts inspired by KOXIAN treat every cable entry as a sealed penetration rather than an open hole. The second route never appears on the datasheet. Every cable that reaches the rear of an industrial panel mount display passes through a gland, a connector or an open cutout, and each of those is a path water can follow when the cabinet is hosed down. Gland plates mounted on the enclosure wall consolidate the entries, while individual glands grip the cable jacket so the seal forms around the cable rather than around the connector shell. Where cables must drop below the entry point, a drip loop buys time by letting gravity turn the water before it reaches the joint. Conduit runs with sealed fittings carry the same logic into the cabinet. One loose gland or one unsealed spare opening is enough to defeat the protection the front face delivers.
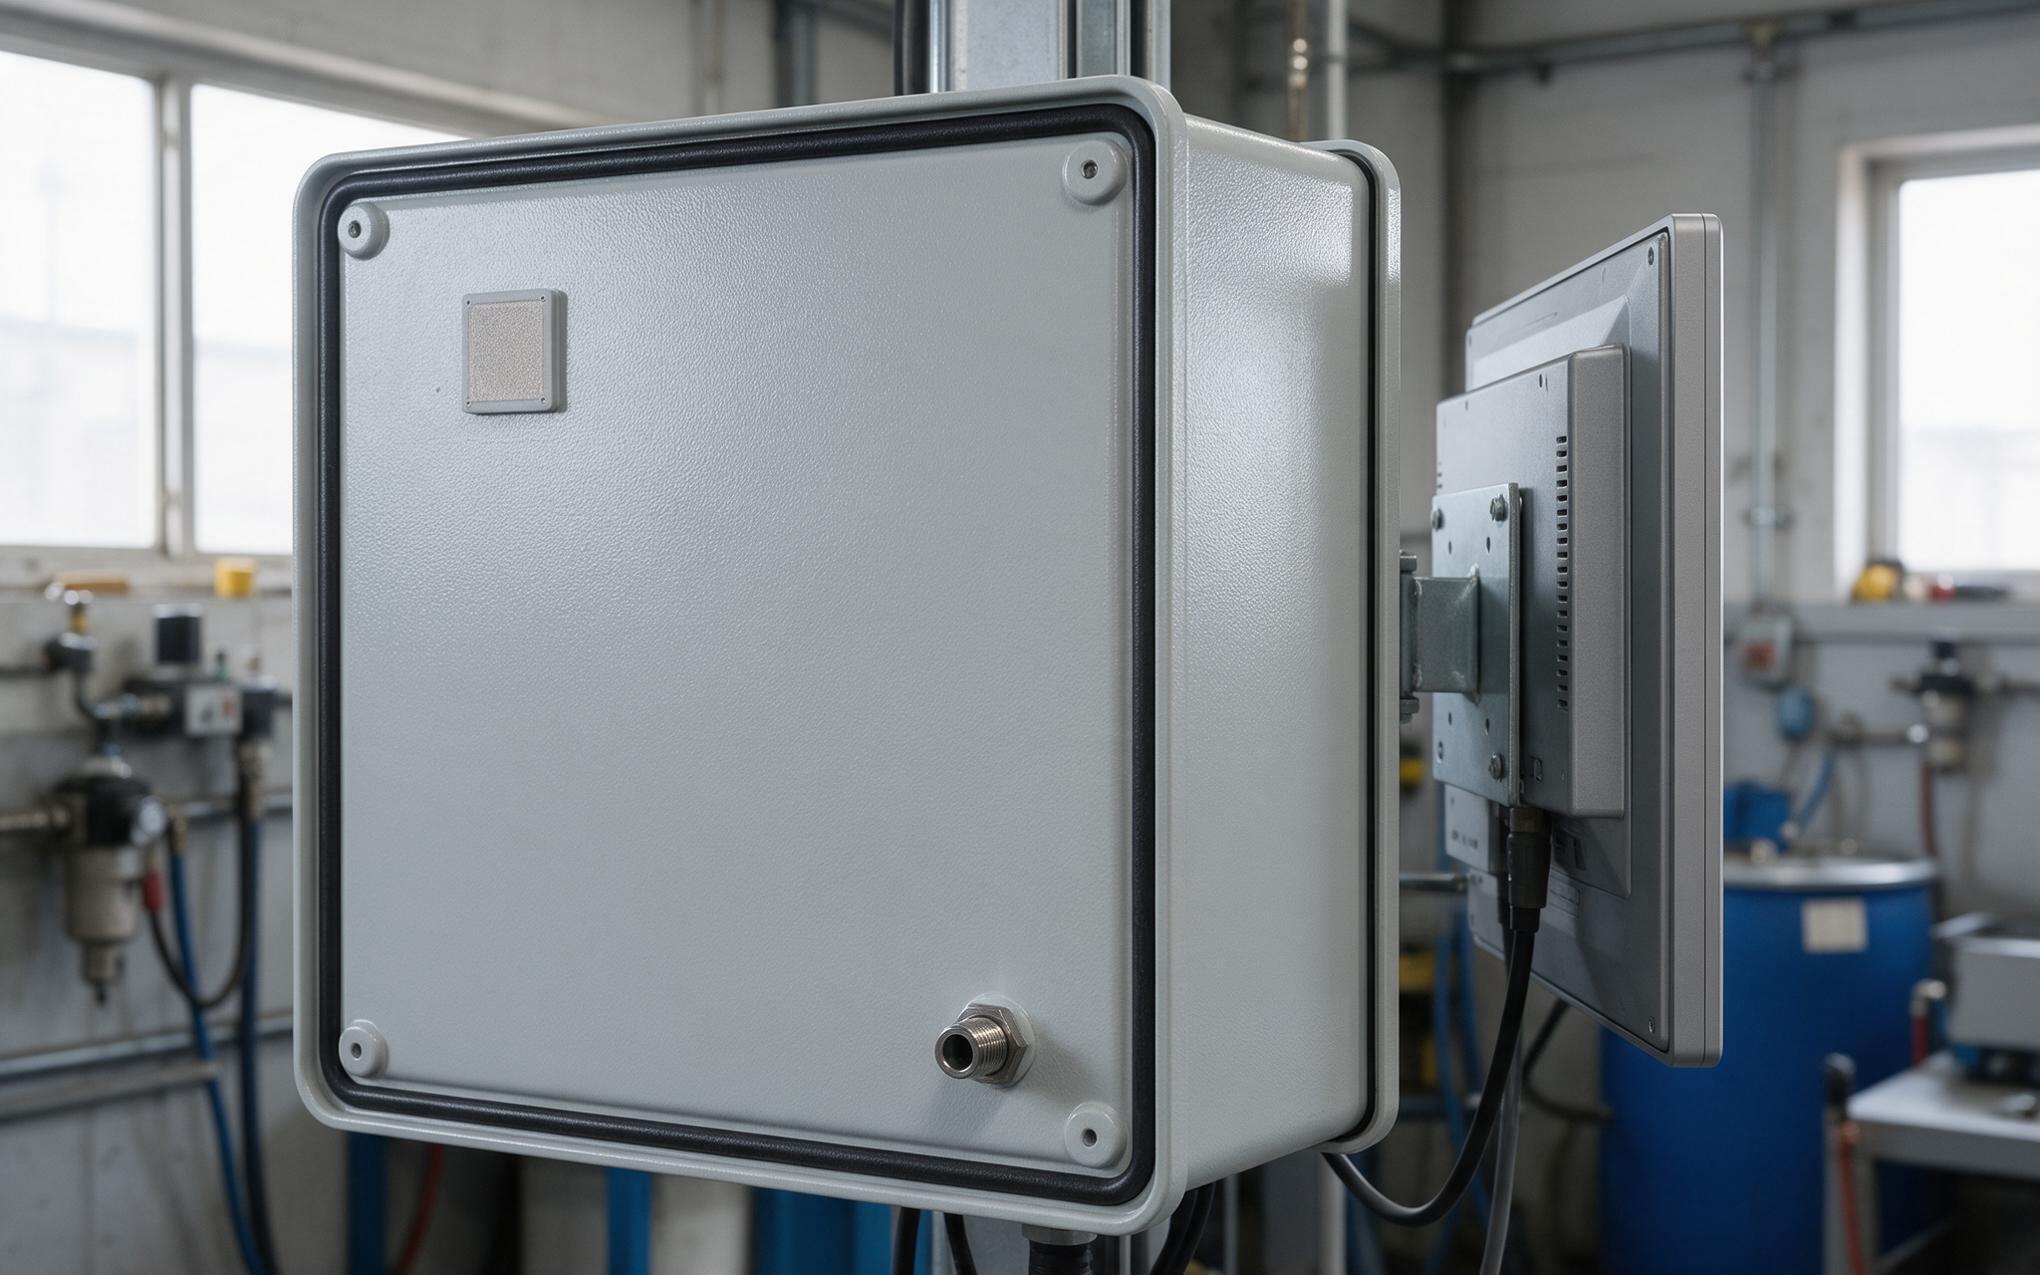
Rear IP Rating Choices for the Enclosing Cabinet
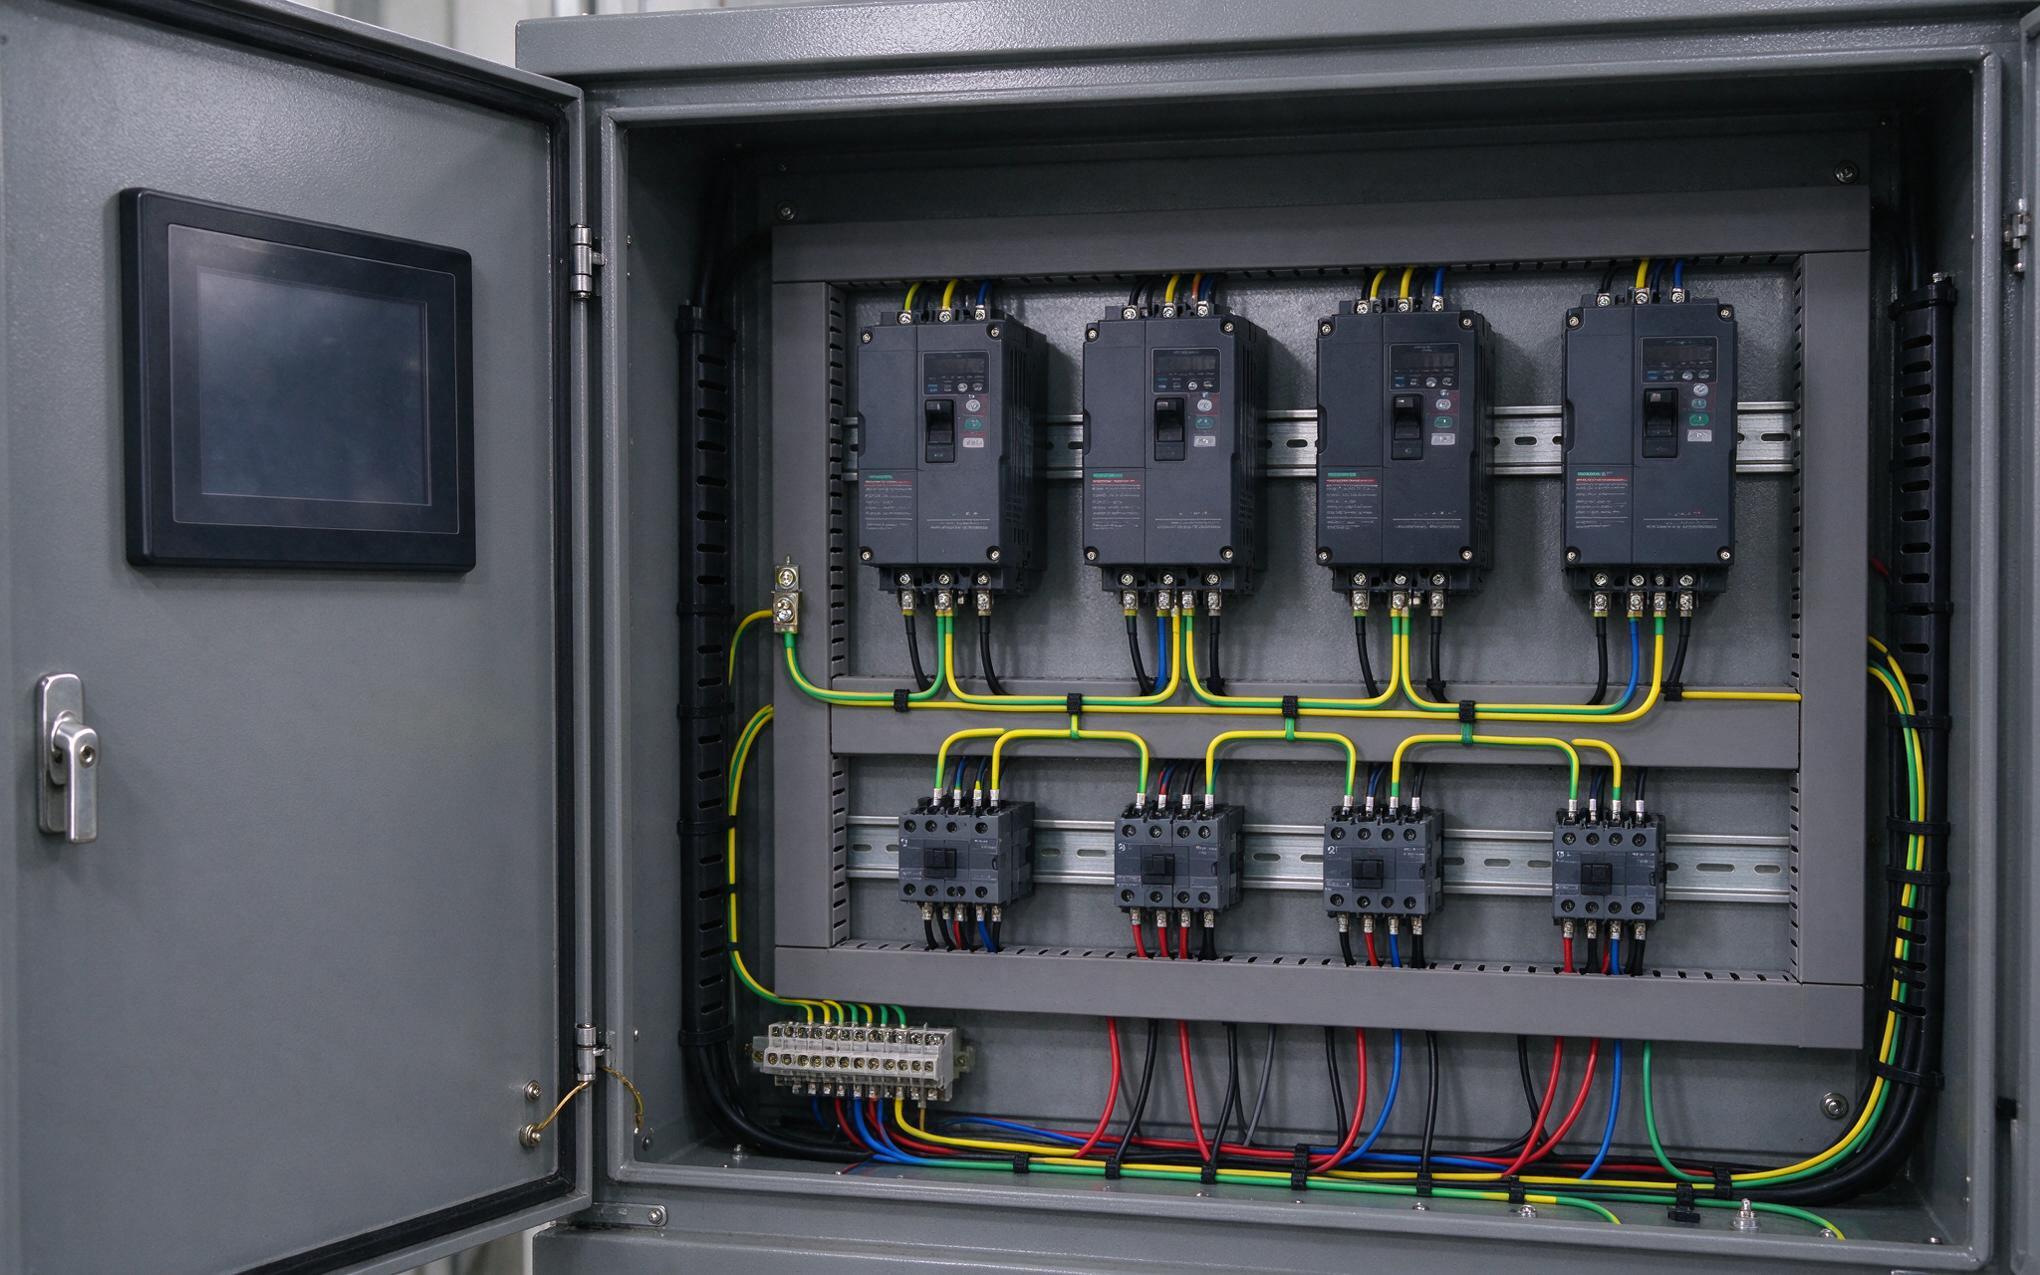
Since the display cannot protect itself from behind, the enclosure has to carry that responsibility. A closed rear wall removes the obvious openings: no ventilation slots, a door gasket in serviceable condition, and cable entries gathered into one plate. Design approaches like those adopted by KOXIAN keep that plate accessible, because a gland re torqued during maintenance costs minutes while a torn cabinet seal costs a shift. Where condensation is a risk, a breather membrane vents pressure without admitting liquid, and a shallow drain path removes whatever condenses anyway. A rear IP rating of 65 on the enclosure then matches the front face of the industrial panel mount display, so a jet from any direction meets the same protection level.

Field Verification of Rear Side Protection Before Handover
Field observations during commissioning show that KOXIAN units installed with sealed rear plates pass a jet test that bare cabinets fail. The hose is aimed at the cable entry plate, the gland wall and the door seam for the duration the front face was rated for, and the cabinet is opened and checked for moisture on the connector shells. Any spare opening should be plugged, and any gland re terminated during maintenance should be checked again, because disturbed packing is where rear side leaks start. A dry interior after that run confirms the enclosure, not the industrial panel mount display, has held the line. The check is repeated after major cable work, since a rear panel that passed at handover can be opened twice a year without anyone retesting it.
Neither route replaces the other. The front seal decides whether the panel face survives a washdown, while the cable entries and the enclosure decide whether the cabinet interior stays dry once the water reaches the back. Treat the rating on the bezel as a statement about the visible plane only, then specify the rear with the same care: sealed glands, a serviceable entry plate, a closed cabinet, and a jet test before handover. Installations that treat both paths as one system stop arguing about where the leak came from.